How to restrict EasyLife 365 Collaboration App permissions to a shared mailbox
The EasyLife 365 Collaboration App has permissions to send mails from any mailbox in your tenant. We recommend you follow the steps outlined below to limit the EasyLife AAD's access to one shared mailbox.
After implementing this policy, the EasyLife 365 Collaboration App will no longer be able to access any mailbox that is not a member of the distribution group. This means EasyLife 365 will not be able to get the user's PreferredLanguage settings and the corresponding option in the notifications section will have no effect."
Prerequisites
As a prerequisite we will need the application Id of the EasyLife 365 AAD app, and a distribution group.
| Application Id | Description |
|---|---|
| 716a0b19-6f38-4909-a80a-ffaac7957316 | EasyLife 365 |
Create a new mail-enabled security group in Exchange Online. Add the shared mailbox as a member to the group.
Make a note of the primary email address of the group.
Create an application access policy
Connect to Exchange Online PowerShell using an administrative account. You can use the ExchangeOnlineManagement PowerShell module for that:
Connect-ExchangeOnline
Create one application access policy using the following command. Replace the PolicyScopeGroupId, and Description parameters. PolicyScopeGroupId must contain the primary email address of the distribution group created before:
New-ApplicationAccessPolicy -AppId 716a0b19-6f38-4909-a80a-ffaac7957316 `
-PolicyScopeGroupId "EasyLifeAPI@easylife365.cloud" `
-AccessRight RestrictAccess `
-Description "Restrict EasyLife 365 to members of distribution group EasyLifeAPI."
Test the newly created application access policies using the following commands. Replace the Identity parameter accordingly:
Test-ApplicationAccessPolicy -Identity "anyOtherMailbox@easylife365.cloud" -AppId 716a0b19-6f38-4909-a80a-ffaac7957316
The output of the above commands indicates whether or not the application Id has access to the specified mailbox.
How do you know this worked?
First, we will verify if the app has the permissions to mailboxes not included in the distribution list.
- In EasyLife 365 Admin go to System Configuration → Settings and select Notifications on the left side.
- Enable the check box at Send notification from your domain.
- In the text box below From, enter the email address of any mailbox in your tenant that is not a member of the group you created above.
- Click Test.
- You will see an error message.
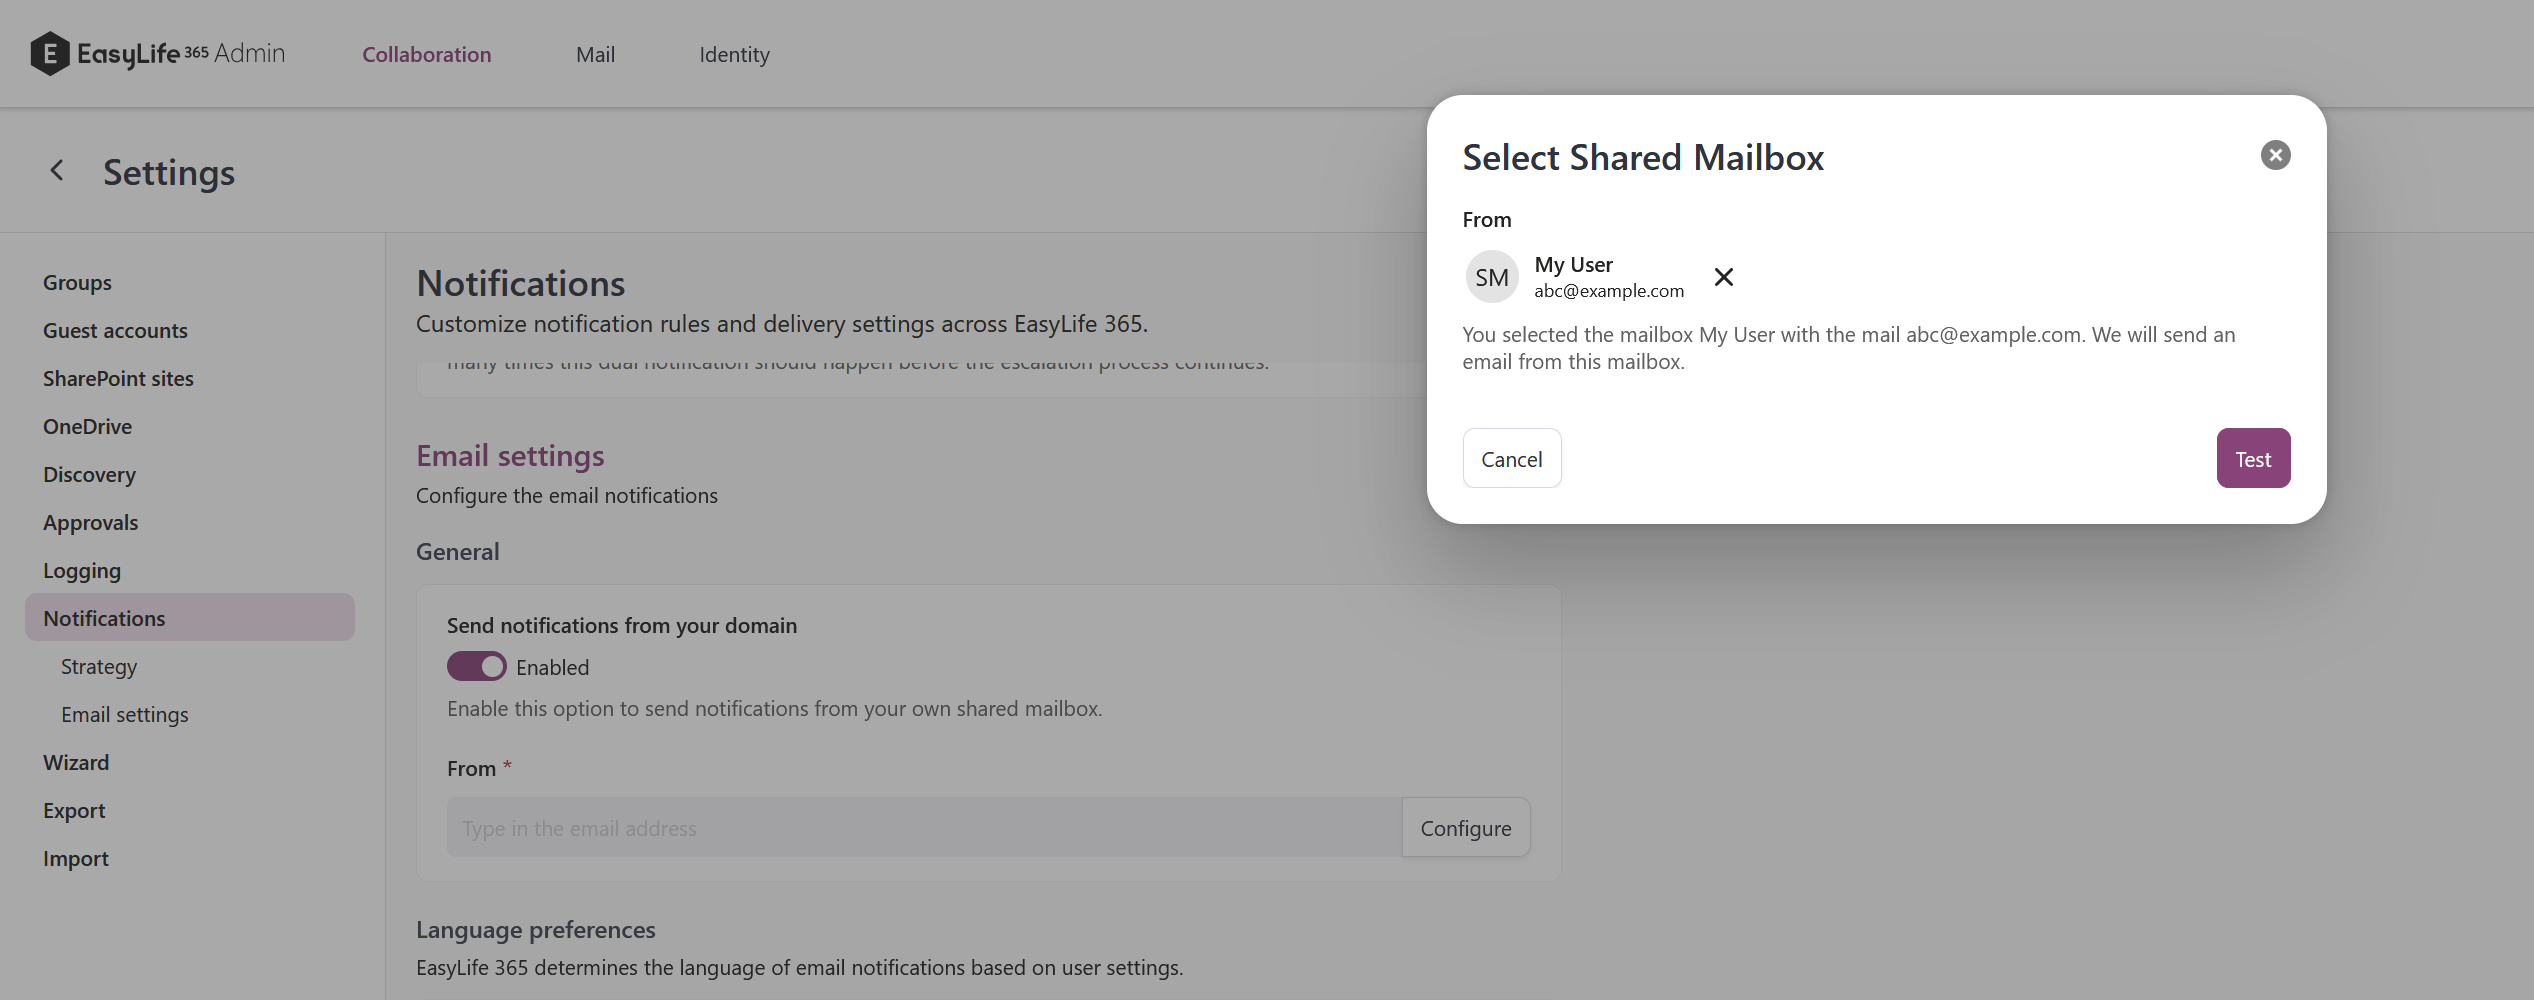
Now, you can configure the desired mailbox:
- In EasyLife 365 Admin go to System Configuration → Settings and select Notifications on the left side.
- Enable the check box at Send notification from your domain.
- In the text box below From, enter the email address of the desired mailbox.
- Click Test
- We will send you a test email to your account
- Click Save changes